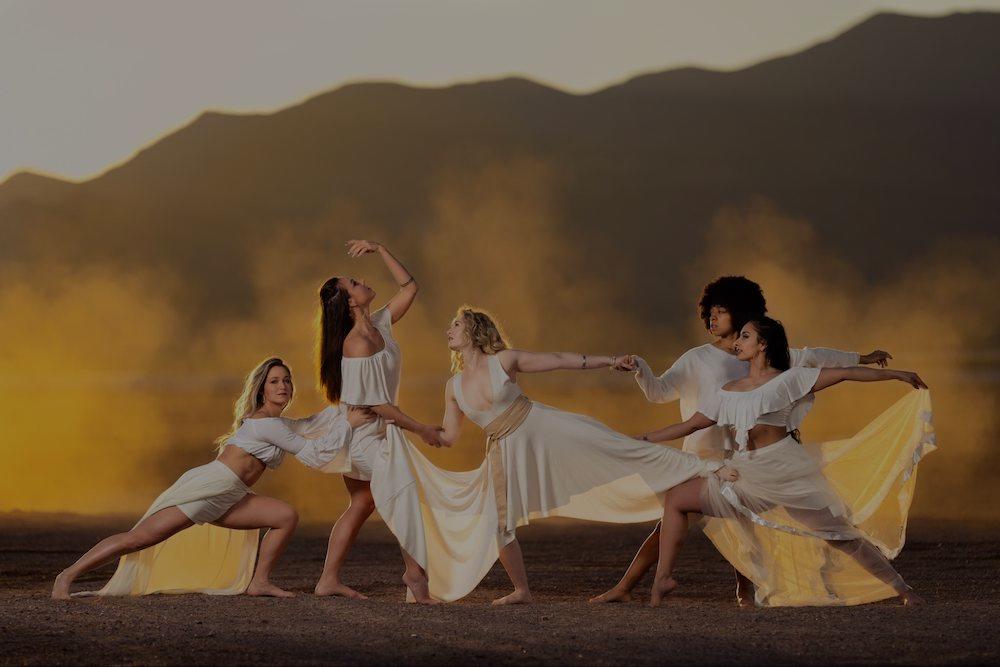
This article breaks down one of my favorite portraits captured in Las Vegas, Nevada. The portrait includes the use of multiple off-camera flashes to balance the dancers with the bright desert sky. I’ll also show you how to use a car to create a magical atmosphere. Read on to learn how lens and lighting selection impacted the final photo.
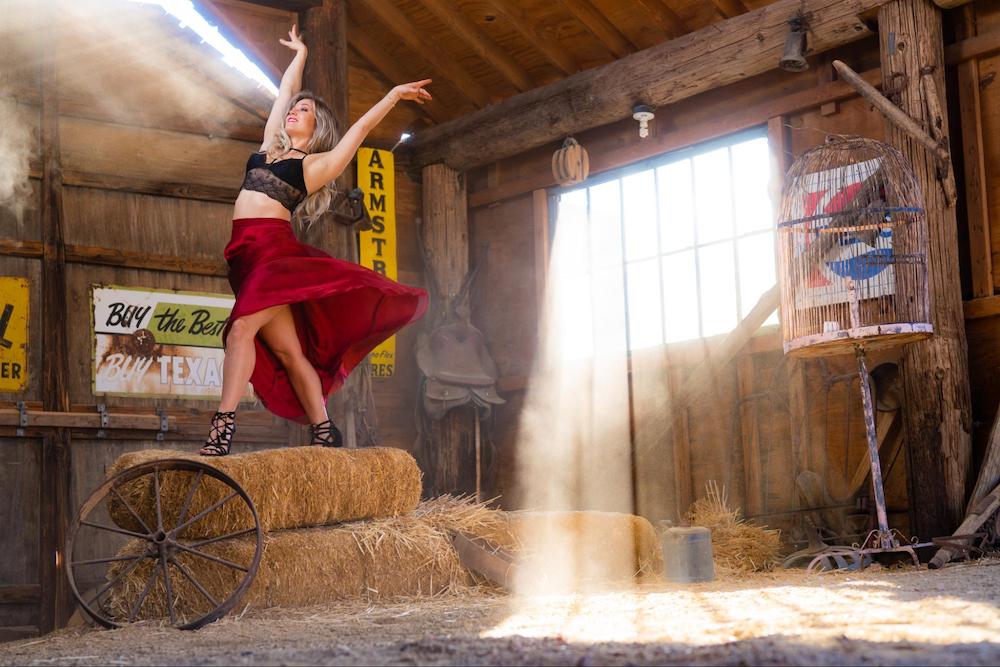
In 2019 and 2020, I worked with a fantastic group of dancers in various locations outside of Vegas. We spent this particular afternoon shooting at Nelson Ghost town. It’s an interesting place to shoot during the day as there are a ton of unique scenes. Since it’s in a valley, it’s best to take off early before sunset or you’ll get caught in a sea of boring shade.
The Location and Attire
We decided to spend sunset at El Dorado Dry Lake bed, which was on our way back to the strip. It’s a rather minimalistic location, with miles of flat ground and Black “Mountain” in the distance. While we spent the day doing a lot of single-subject portraits and group shots, we coordinated in advance for all the dancers to bring an outfit that was all white and flowy for a final group photo. I was focused on creating an image where the group was showing strength as a unit. They definitely delivered on the styling, which was a huge aspect in making the final image cohesive.
The Lighting and Lens
Originally I had envisioned a low-angle image featuring a sky filled with clouds and deep colors. Seeing the weather conditions upon arrival, I knew there was no chance for that. Immediately, I pivoted my goal to making the dancers pop out over the distant desert landscape. I set up two of my Flashpoint strobes with softboxes. First, an XPLOR 400 Pro as a key light feathered across the group from camera left with an 85cm Glow softbox. The second light is an eVOLV 200 Pro with another softbox as a fill light.
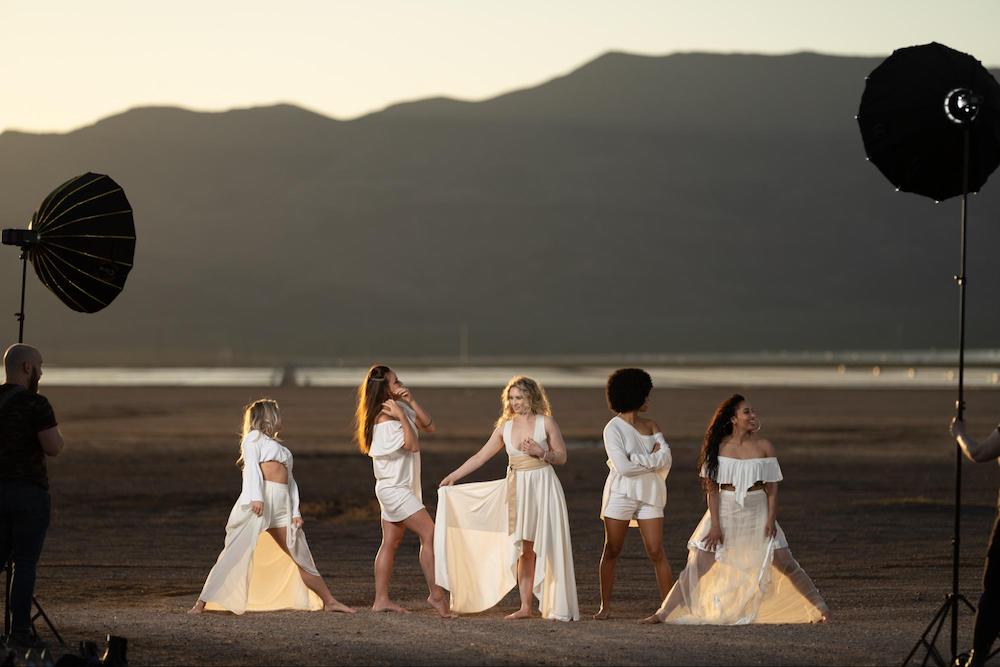
I used my Sony 135mm F/1.8 GM lens with my Sony A7R IV. I chose this lens because I wanted to shoot from as far away as possible. By doing so, I increased the compression to magnify the scale of the distant mountains in relation to the subjects.
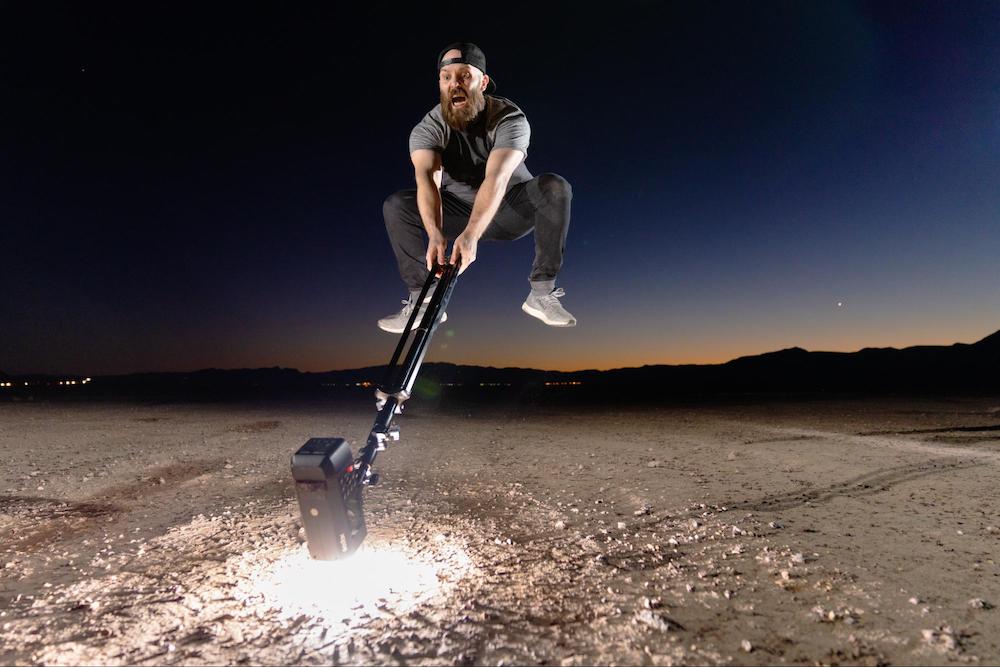
To see the opposite effect, I’ve included a goofy photo we captured at the same location, shortly after sunset. This image — shot at 17mm on my Sony 12-24 F/4 G lens — emphasizes how far away the mountains are, and how easily they can lose impact when you are closer to your subject with a wider lens.
Finally, I dialed in my settings. I knew my flashes weren’t powerful enough at this distance to use the High Speed Sync function, which reduces the peak brightness of a flash. Therefore, I used a 4- stop ND filter. This allowed me to keep a wide aperture of F/2.2 on the 135mm lens, while keeping my shutter speed at the flash sync speed of 1/250s. I kept the A7R IV at its native ISO 100 to maximize dynamic range since this was a high-contrast image. These settings were optimal for the subject matter, and just enough to ensure I didn’t blow out the highlights of the bright sky.
The Pose
For the pose, the dancers tried various options until I had something that I loved. I’m certainly no connoisseur of dance, so I let their expertise guide me. I liked this pose because it follows the shape of the mountains in the background. There was triangular structure between their limbs, and it had the effortless poise that I had envisioned.
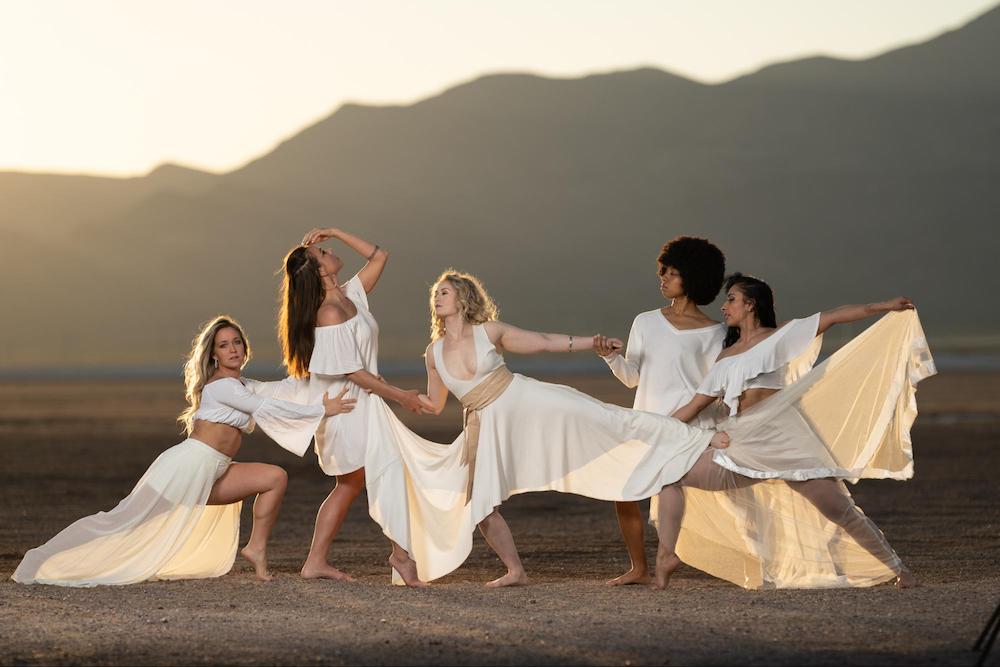
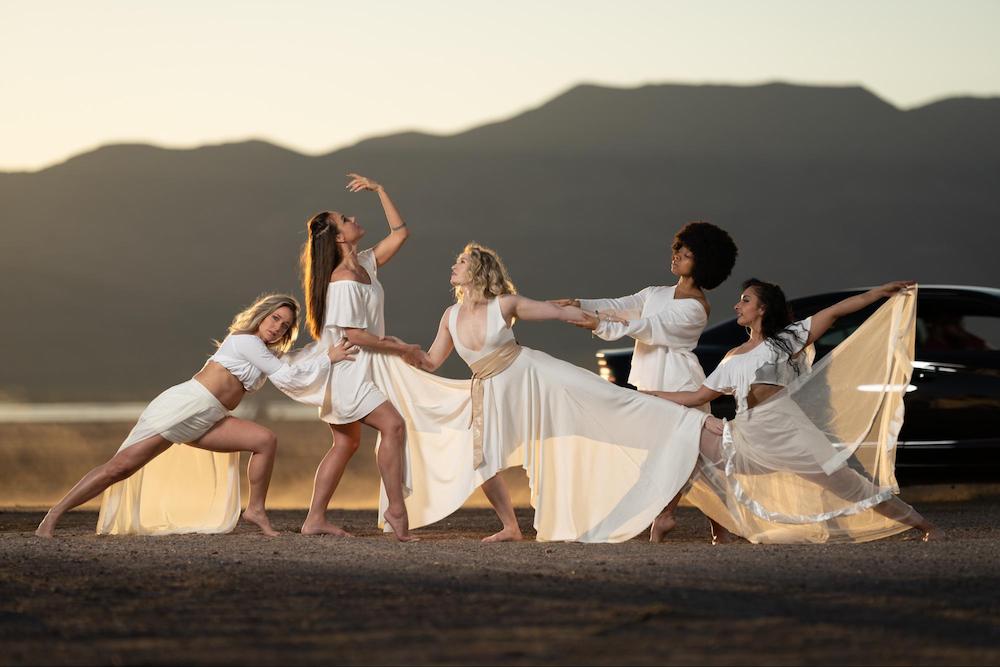
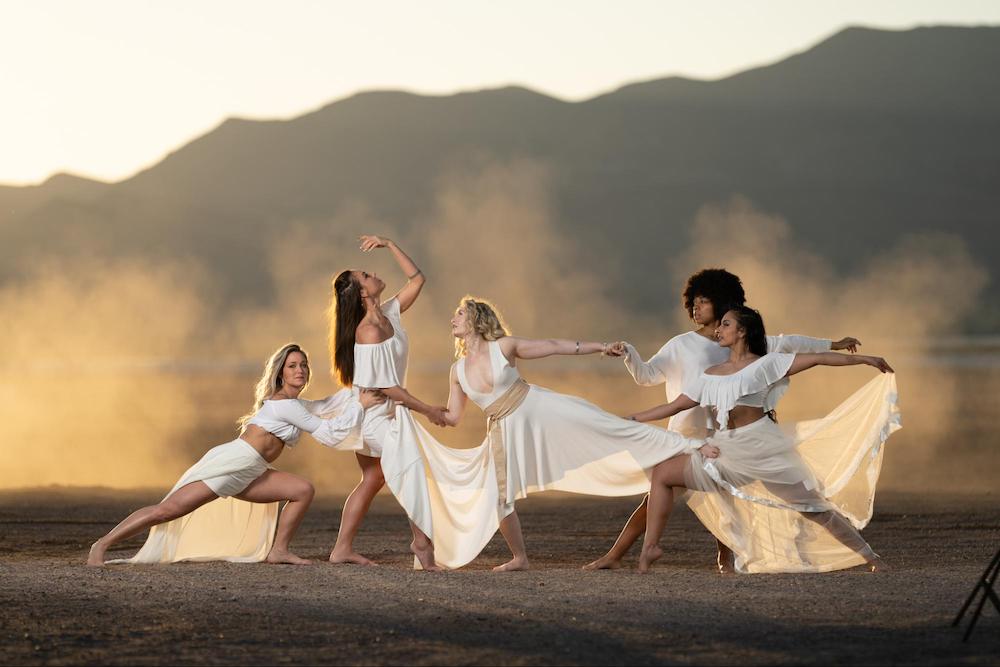
Since we didn’t have the dramatic sky I’d hoped for, we had to create our own drama. After a couple test shots, I had my friend start up our rental car. I knew if the car drove behind the group of dancers, it would kick up a ton of dust from the dry ground. Those dust particles would add texture to the air, giving the hard sunlight something to reflect behind the group. The dancers held their group pose, and we (responsibly) drove the vehicle behind them. Once passed, I grabbed a few frames before the dust could settle.
The Post-Production
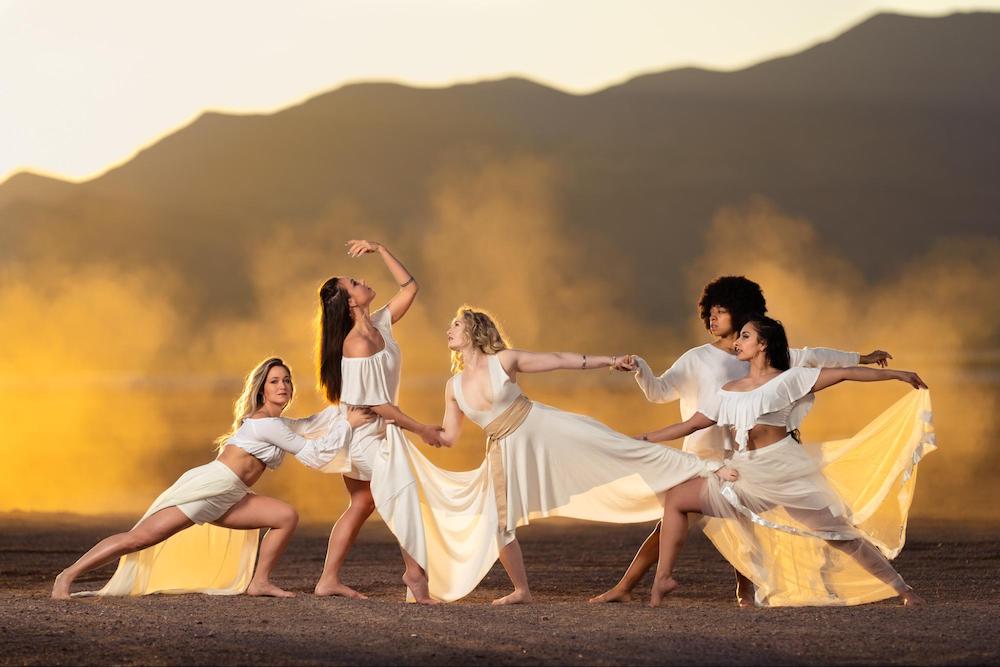
I got everything I wanted straight out of the camera. The off-camera lighting made the group stand out. The sunshine on the dust was warm, and just a touch darker than the group to avoid competing for attention. The 135mm at F/2.2 rendered the group with stunning detail, while creating a ton of separation from the background with the wide aperture.
Post-production was minor. I raised the exposure and increased saturation across the entire image. I finished with some light imperfection removal, and made color adjustments to maintain a warm color palette across the entire photo. I cropped in a touch to remove some negative space and got rid of a light stand visible in the corner. Finally, I burned the sky to keep the eye from going up to the top of the frame.
Stay tuned for more Photo Lighting Breakdown at Flashpoint’s Creator Blog!
Article and Photos by Robert Hall

