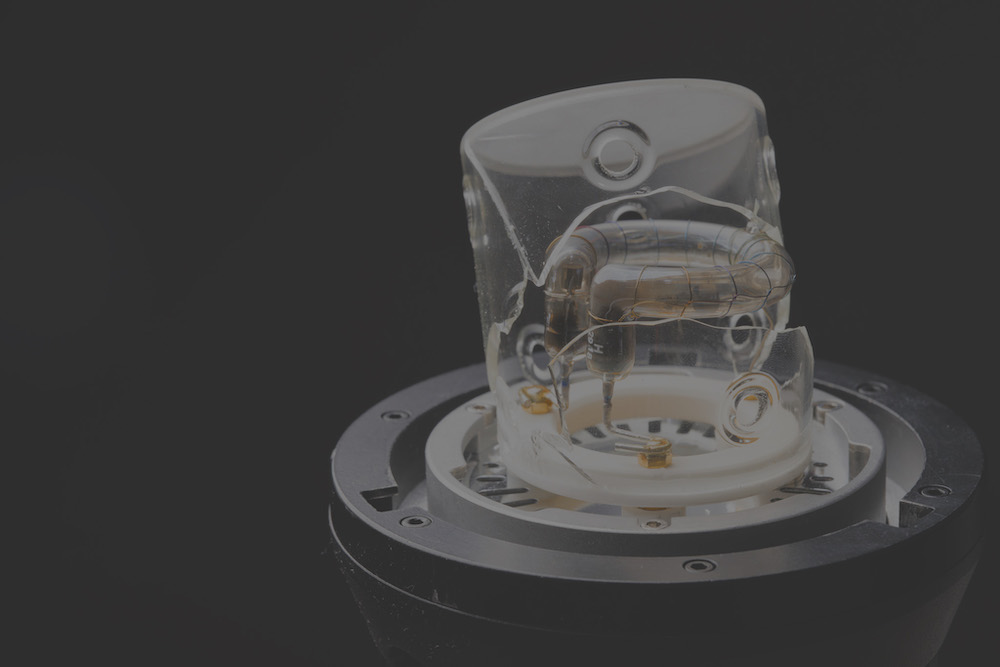
At some point, while firing away during a photography session, your strobe will stop flashing. This doesn’t happen spontaneously. The flash may have suffered a bump that affected the bulb. A power cord may have lost connection. Or maybe lightning strikes nearby and the unlicensed electrical work in your studio allows a power surge to blow out your flash… I’ve personally experienced all three. Even the most meticulously cared for flash units will eventually face a busted bulb, so it’s important to know how to properly diagnose your flash error and how to resolve it.
Diagnosing the Problem
The first step toward fixing a flash is properly identifying the problem. Is it the flash tube? Fuse? Power cable? Battery? Or perhaps something internal?
Flash Tube
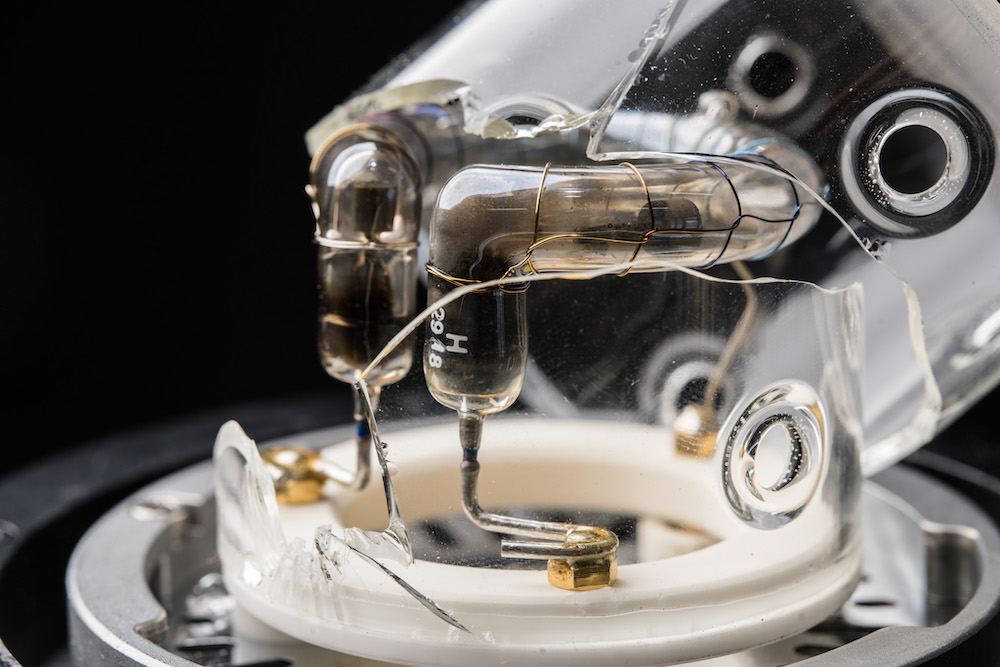
If your strobe is powering on with the display showing typical operation, then the problem is the flash tube.
Strobe/Battery Connection
If your battery-powered strobe will not power on, confirm that your battery has a charge. If it does, then there is likely a connection issue on the battery or strobe and will need to be replaced.
Cable
If you have an AC-powered strobe that will not power on, first try a different power cable. I have dozens of these from years of studio photography. You can find one at most electronics stores if you don’t have a spare. If a different cable works, then you’re back in business.
Fuse
If you have an AC-powered strobe that will not power on, and you’ve confirmed the cable is not the issue, chances are the fuse is the issue. Most Flashpoint strobes include a spare fuse. If you need another then you can find the fuse type to replace in the user manual of your light.
Internal
If your strobe (battery or AC) powers on, and displays an error code, then the power source and flash tube are not the issue. There is some internal problem, either firmware or hardware. Error codes are listed in the manual of each light so you know what component is problematic. Take note of the error code and contact the Flashpoint repair service to get details on the repair.
Fixing Flash Tubes
If you have identified that a flash tube is the culprit, it’s time to replace it. If this is your first time replacing a flash tube, then you may be reading a mix of information. Some present this as no big deal, and others tell you to proceed with caution. The reason for this is some flash tubes genuinely require caution, and others are a breeze.
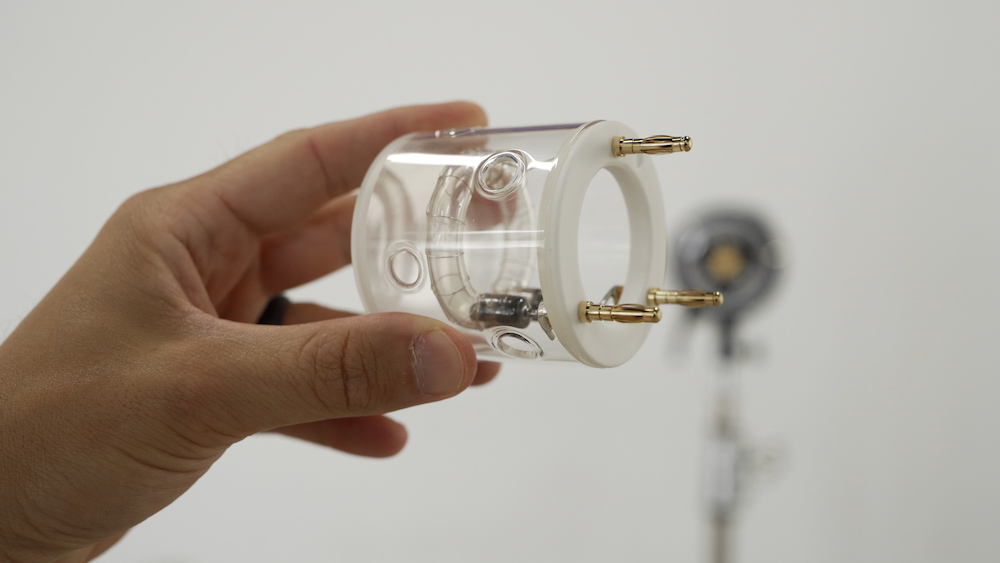
First, let’s clear up what the flash tube is. The flash tube is the horseshoe or helical-shaped bulb that creates the flash pulse. On some products, the flash tube is exposed— perhaps a horseshoe bulb that surrounds the modeling lamp on the Blaz 300. On other products, the flash tube is covered with a removable glass dome, like on the Flashpoint Xplor 300 Pro or Xplor 1200 Pro. Some flash tubes are encased in a glass dome, like on the eVolv 200, Xplor 400 Pro, and Xplor 600 Pro.
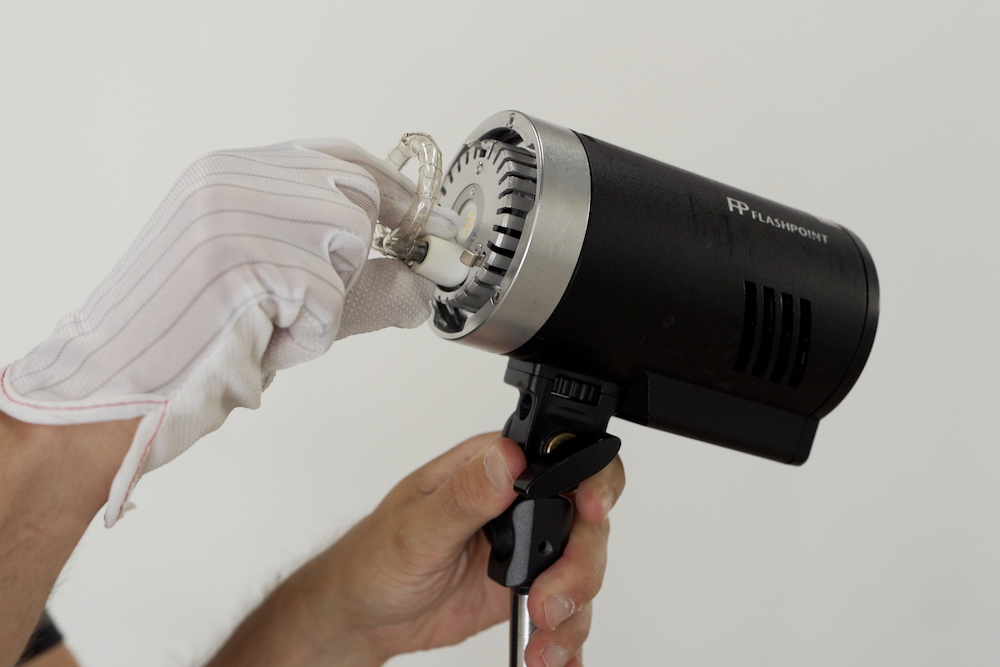
Whenever you change a flash tube of any type, you should disconnect the strobe from its power source (remove battery, disconnect AC cable), and turn the power on and hit the “test” button to dump any stored energy. This is the same process required for updating firmware.
Any flash tube in protective glass is safe to touch. You can grab the eVolv 200’s bulb, pull it out, and the flash tube will never make contact with your hands. Therefore you can grab the replacement with bare hands and your repair is complete.
However, in the case of exposed flash tubes, and flash tubes behind removable glass, it is important that you do not touch the flash tube with your bare hands. You need insulated gloves on your hands. This is to eliminate the possibility of oils on your hands transferring to the flash tube. If oil gets on the flash tube, and then the tube heats up from flash pulses, it’s very easy for the glass to break.
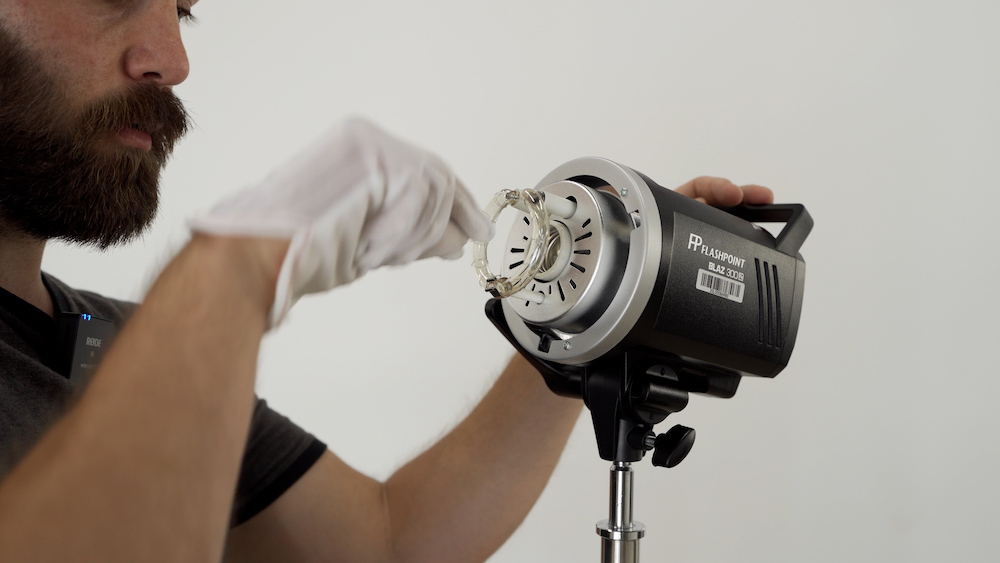
Whatever the case may be, there’s no reason to fear the process of changing a flash tube. It’s a simple repair that requires minor preparation!
Article and Photos by Robert Hall.

