When it comes to using flash and off-camera flash, a lot of users shy away from using gels in their work. While shifting colors and adding color can take some practice to master, it’s well worth having the extra tool on your belt.
In general, there are a few ways people use gels in photography. The main way is to change the color of your light in order to match the ambient light of the scene. For example: if the light is very orange, people will add a color-temperature-orange gel (or CTO gel) to their light. This allows you to use a white balance to get the light of the scene to more neutral white as well as having that same neutral color on your subject. Essentially, the entire image is being lit with the same color so as you shift your white balance, everything is on the same spectrum.
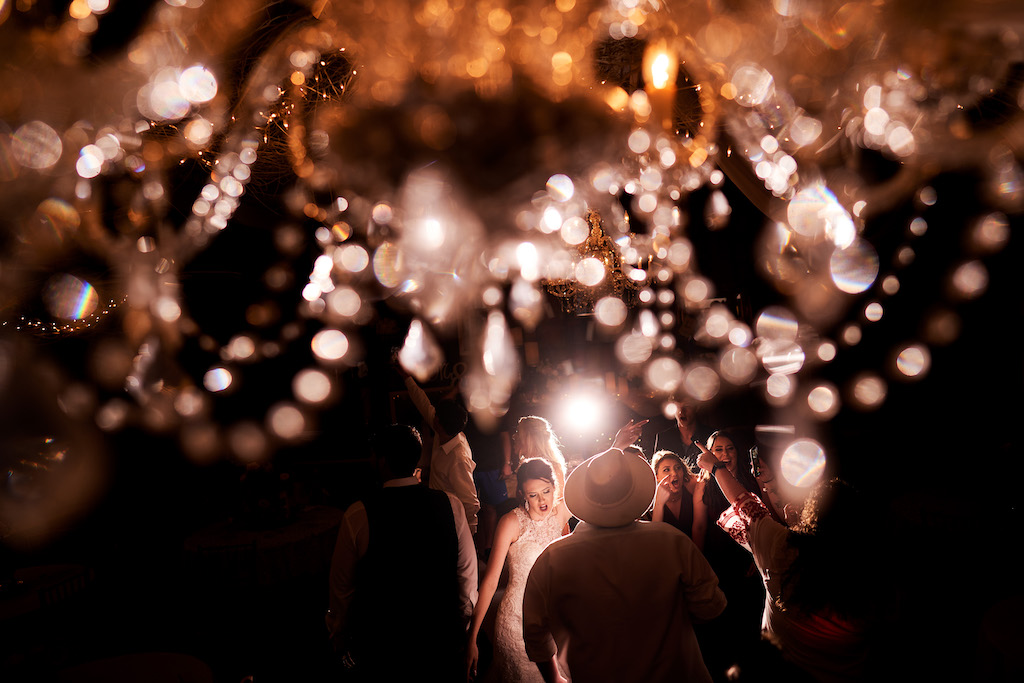
You can also use gels to change the color of the scene. In the example above, we lit the subject orange because the light was orange, making it so when we shift our white balance more blue, the entire image shifts to white. Likewise, we could light the subject color-temperature-blue (CTB gel) and shift the white balance more orange to get a neutral light on the subject. The background would become more orange.

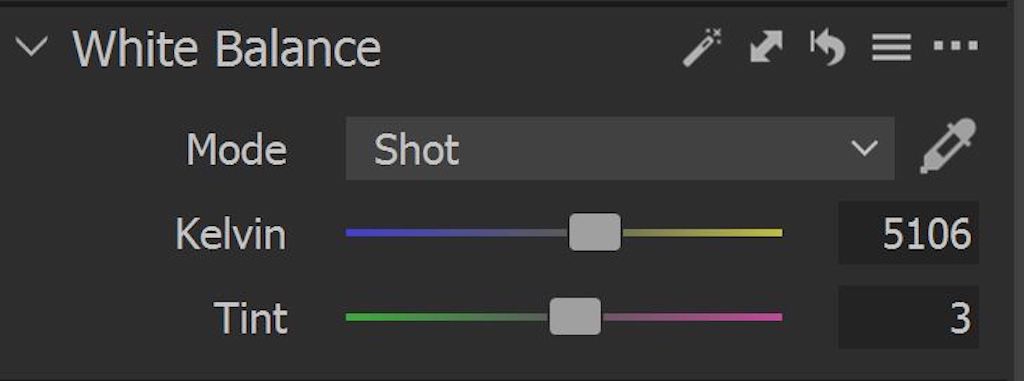
To better understand how adding colors can shift an image, it helps to look at the white balance slider within your editing program. As you can see below, orange and blue are on the same slider. You also have green and magenta on another. Therefore, if you add green light to your subject and shift it back to neutral, it will cause the natural light to shift to magenta. If you add orange to your subject and shift it back to neutral, then it will make your natural light turn blue.
There are also multiple strengths of gels. This is essentially how much color they will add. If you use a full stop CTO gel, you’ll have to shift your white balance a lot more in order to get to neutral than if you use a ¼ stop CTO gel. Likewise, if you are trying to match a light color and the lights are just a little orange, you probably won’t need a full CTO gel. You can also stack gels if you need to get to a certain color that a single gel won’t provide.
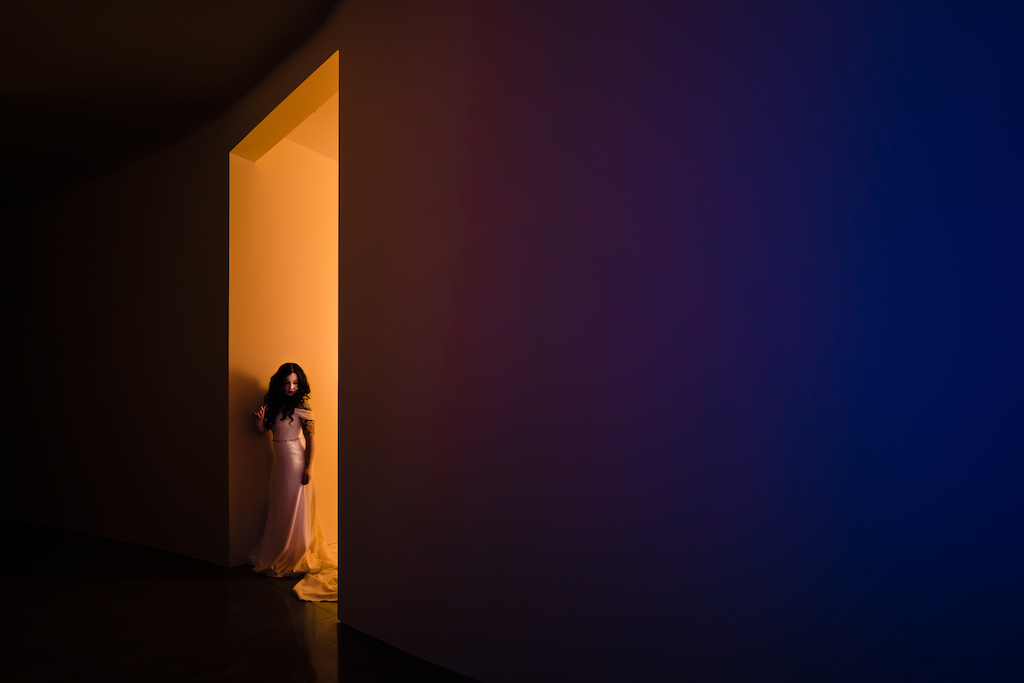
The gels we have talked about so far are called color correction gels. These gels are produced within a certain realm of accuracy in order to correlate to a camera’s white balance. The other types of gels available are referred to as creative gels. These gels are produced to simply add color to a scene. While using a creative orange gel can give you similar results, you won’t get the same color accuracy when shifting back to neutral. You may be left with more yellows and reds that you will need to deal with. Creative gels also tend to be all or nothing and rarely come in ¼ or ½ intensities.
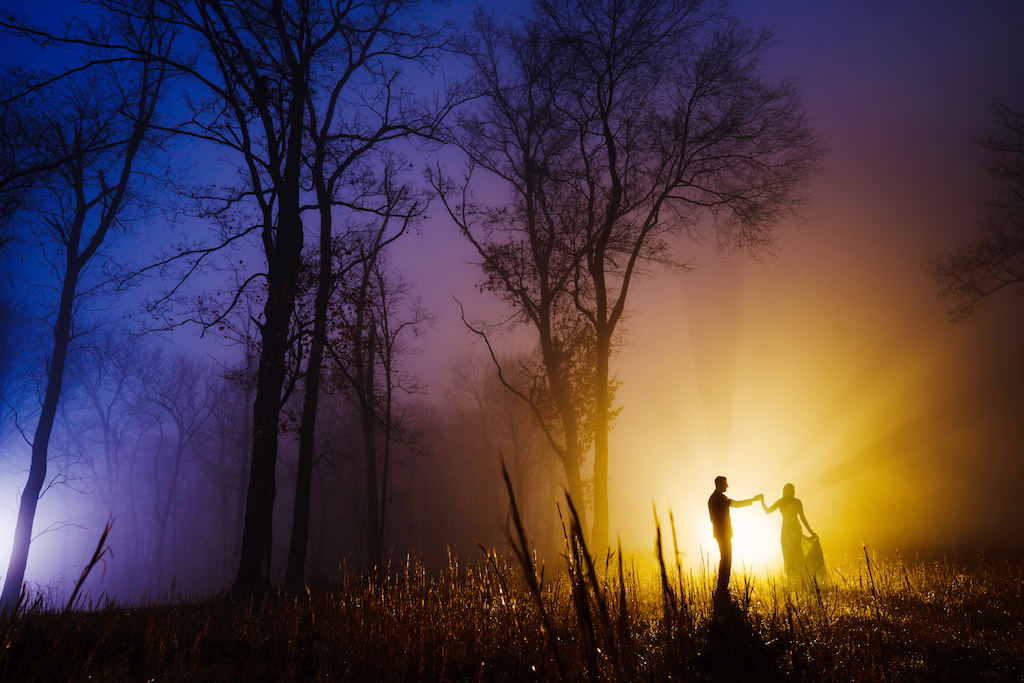
Creative gels are used to add color that isn’t originally there. A lot of people will use these to create interesting lighting on a subject. Although, you can also use them to add color to a scene. If you want a boring white wall to be purple, you can do that with gels.
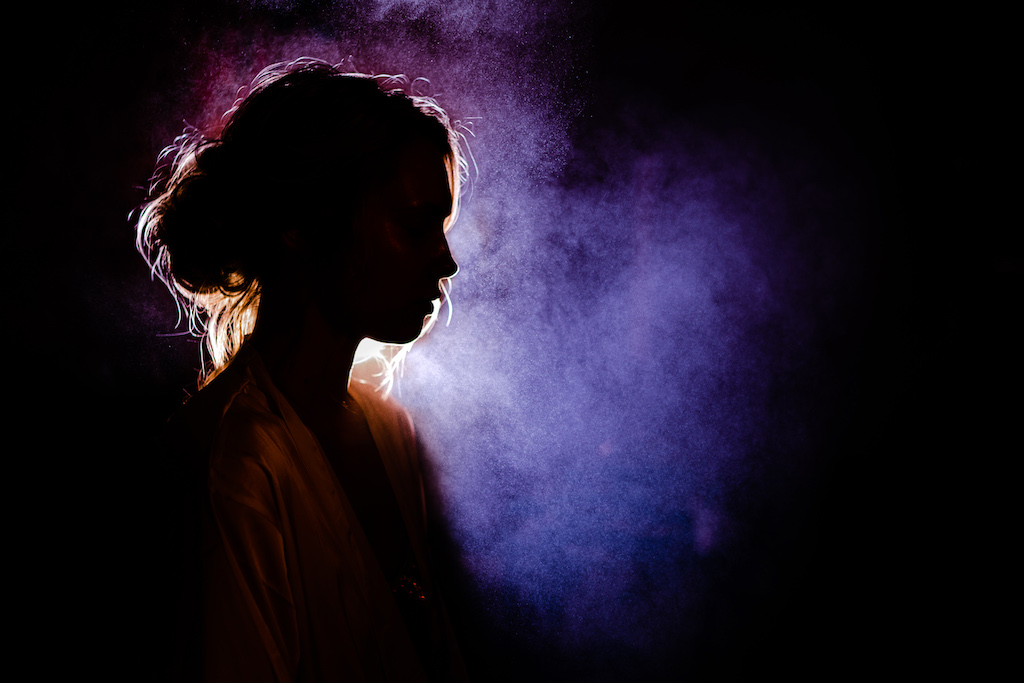
From here, it’s just a matter of figuring out what creative colors fit your style and what corrective gels can do to alter the ambient light to fit your mood. But now that you have the basics of what these gels can do, all you need is a little practice and experimentation.
Article and Photos by Jason Vinson
