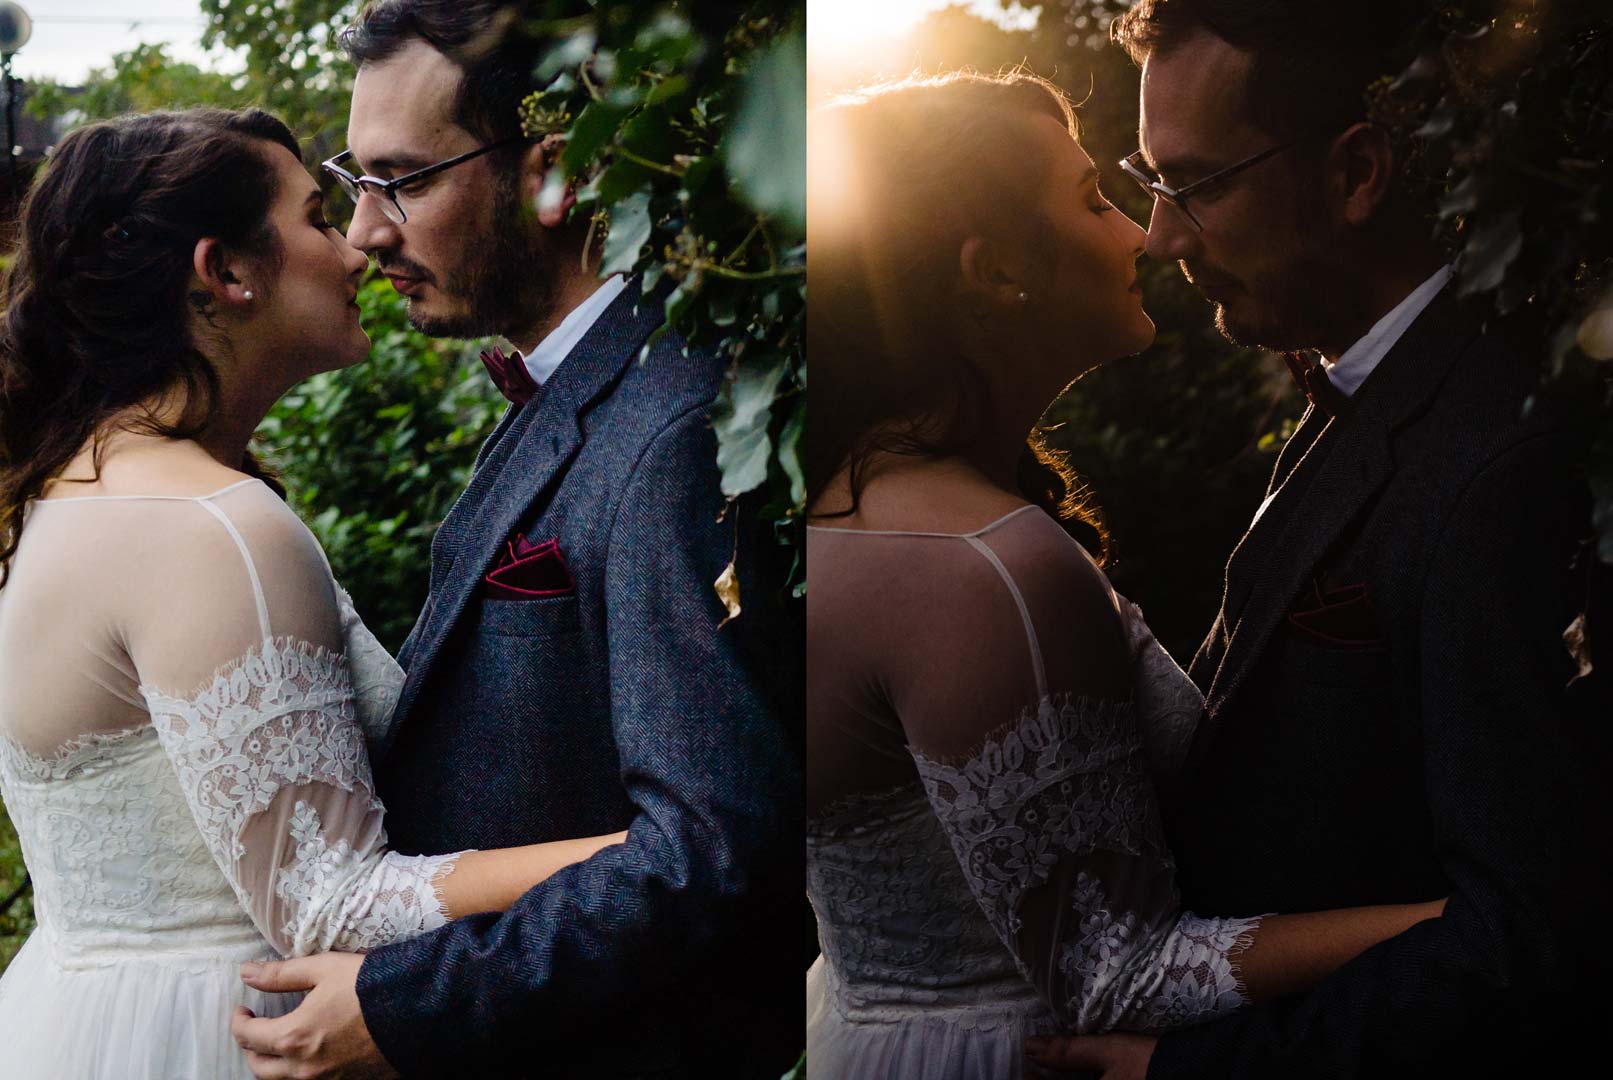
When it comes to using off-camera flash, one of the biggest hesitations I hear from newer photographers (or those that are stuck in their ways), is that they don’t like that “flash look”. While I will agree that certain images can get a flash look when lit a certain way, I’d argue that light is light, no matter the source. So today I want to walk through an easy way to use flash to give you those sunset flare images without the sun. The key to recreating sunlight with flash is to have some type of ambient light to work with.
While you could potentially make it work in the dead of night, it’s going to be a tough thing to really pull off. The reason for that is that the shadows in your scene need to somewhat mimic that of a real sunset scenario. To do this, we use the ambient light to set the exposure of our shadows and then the flash to give us light and color. So I generally try and pull off this technique on cloudy overcast days or in areas of shade.
Light Color
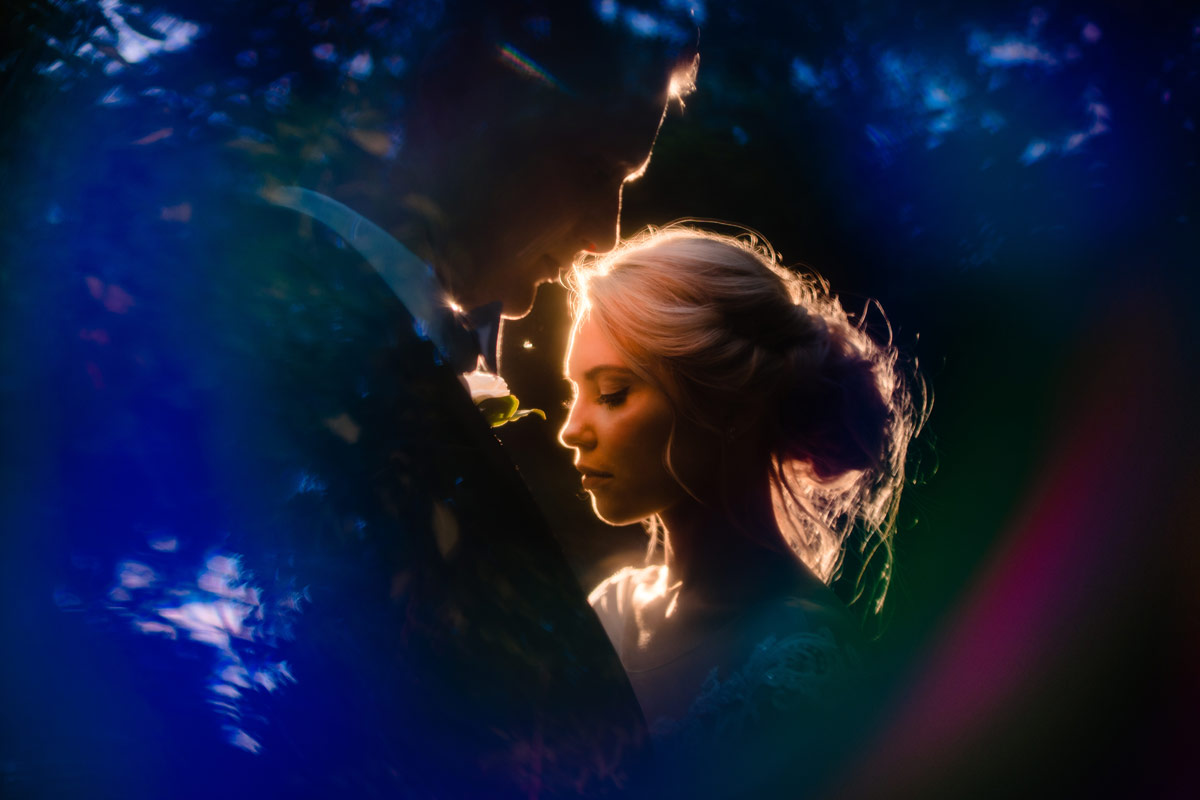
The first thing you are going to want to do is to modify the color of the light. In general, sunset light has a nice warm tone to it. Which is very different then most daylight-balanced flashes. So to get past this, I almost always use a ½ or full stop CTO gel (color temperature orange).
Light placement
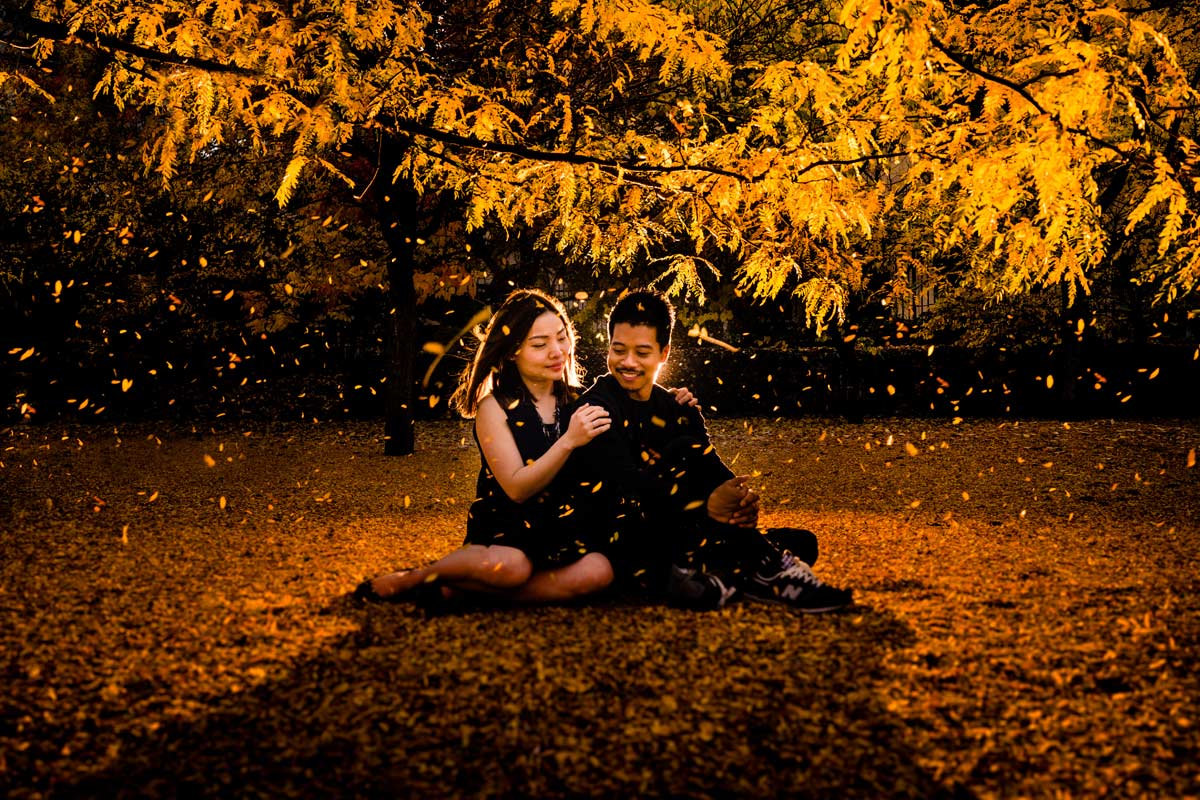
Next, you want to place the light behind your subject and pointing toward the camera. There are two tricks to this. One is that the light needs to be back far enough in order to light elements in the scene the same as the sun would if there.
This is an example of a bad location for recreating sunlight (though that’s not what I was doing here I’m just making a point). The light is not interacting with the trees behind the couple and you can actually see where the light starts. Since the sun is so far away, it should interact with everything in the frame.
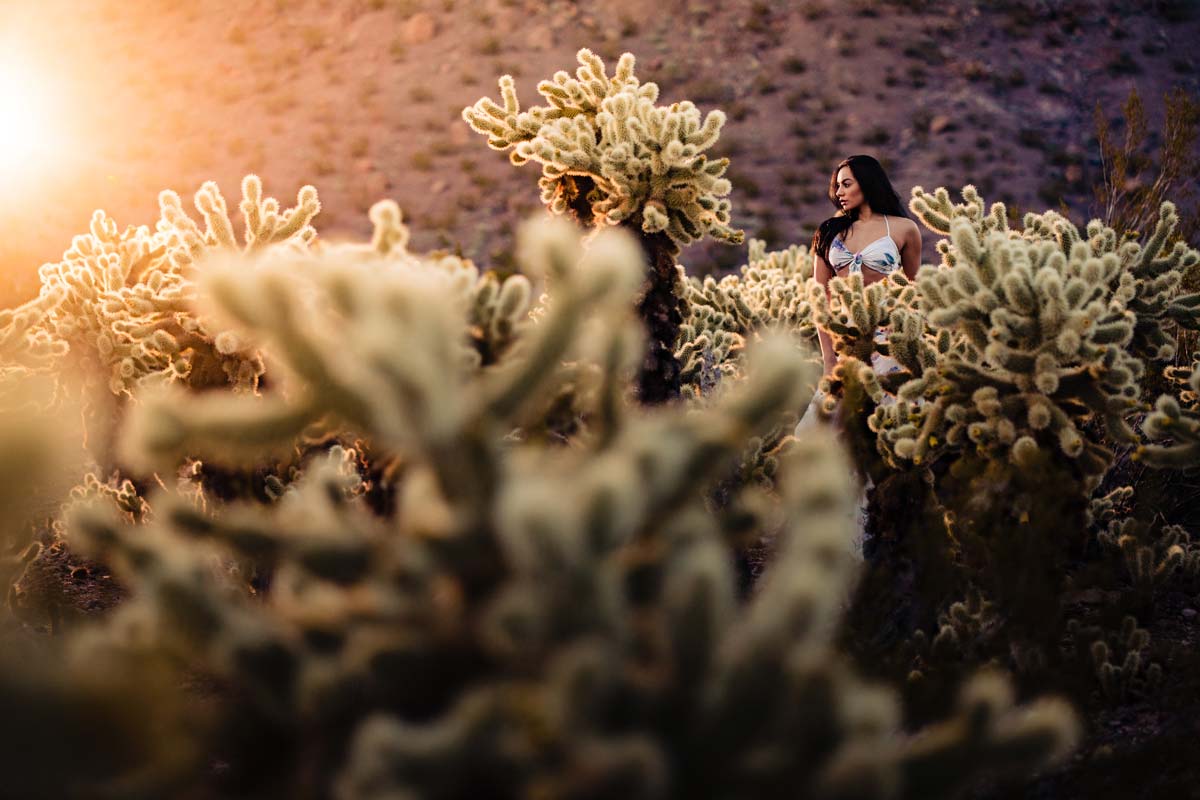
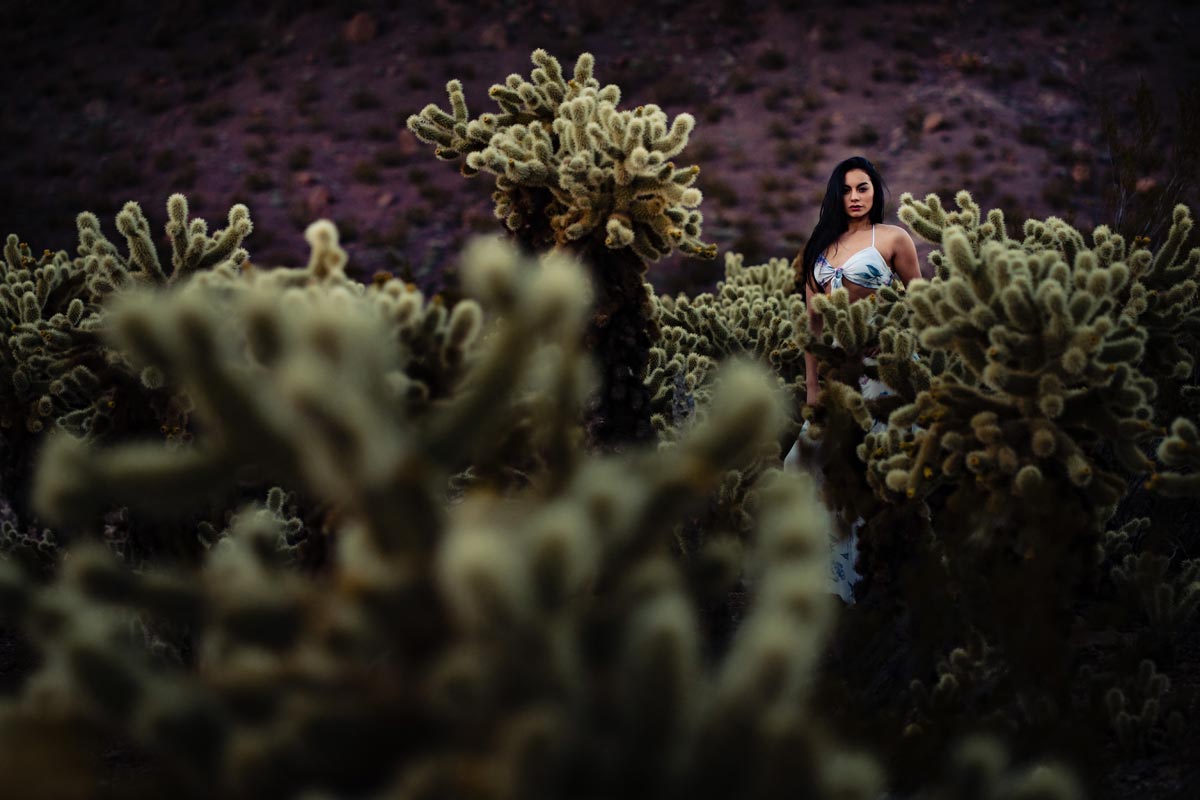
The below image is an example of good placement as far as elements in the scene are concerned. The light is hitting the subject as well as the cactus in front and behind the subject.
Where the Sun Doesn’t Shine
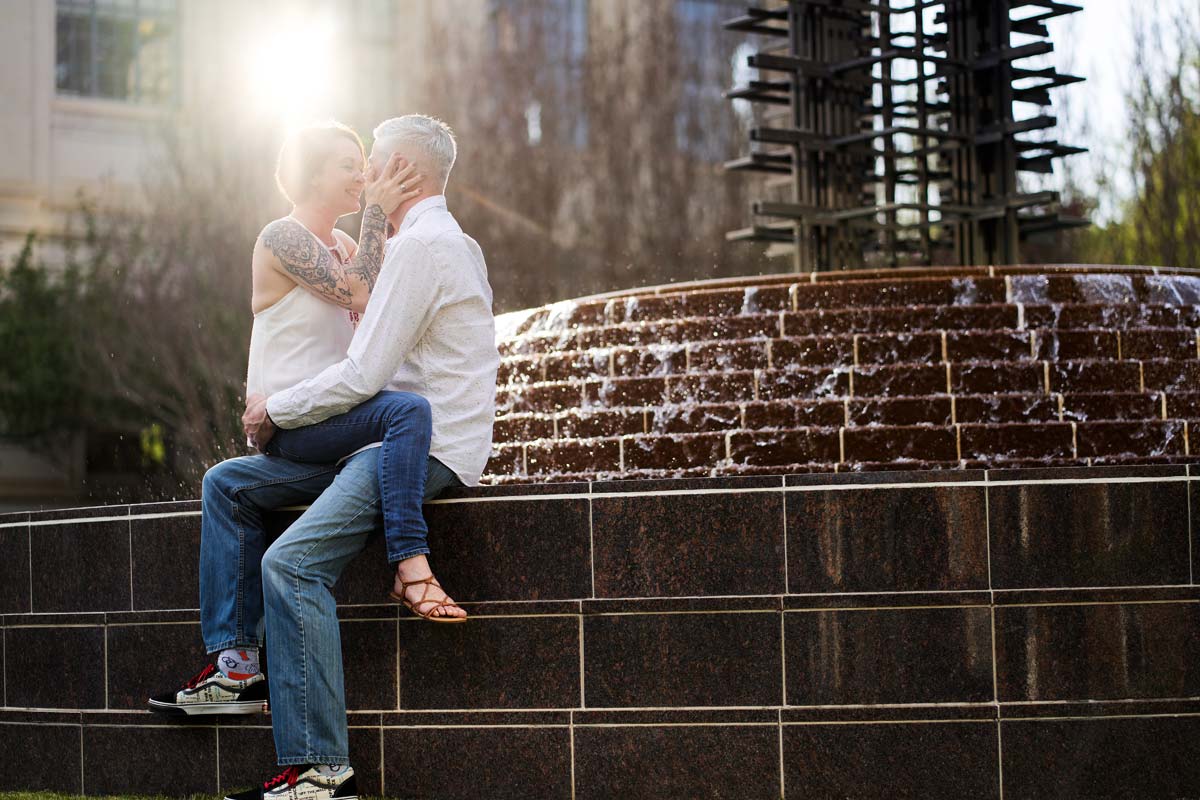
This brings us to the second important tip on placement. The light should come from an area where the sun could actually shine. And with the above example, the sun couldn’t actually shine from in front of the hill at the back of the frame. The only reason why it somewhat works for the above image is that the flare is coming from the edge of the frame so it makes it hard to see if the hill is actually there. But below is a more clear example of bad placement because the sun couldn’t shine through a building.
Bad Placement:
Better Placement:
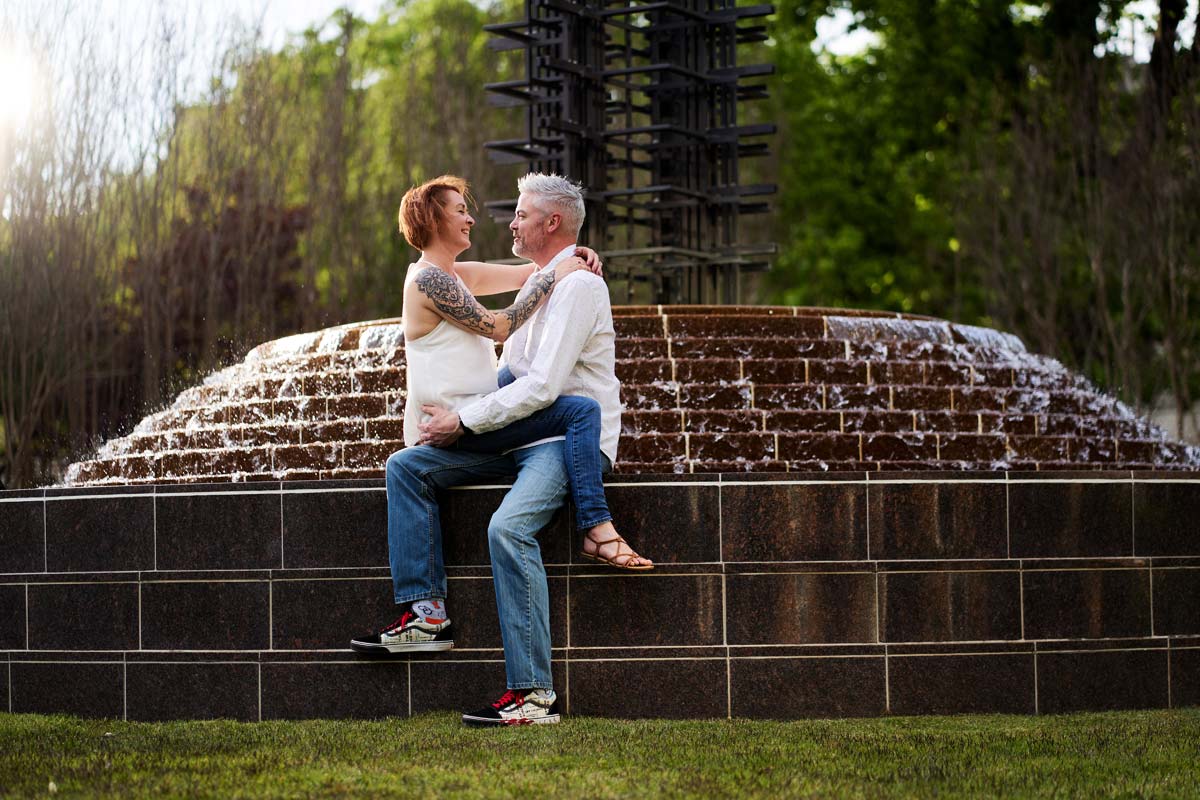
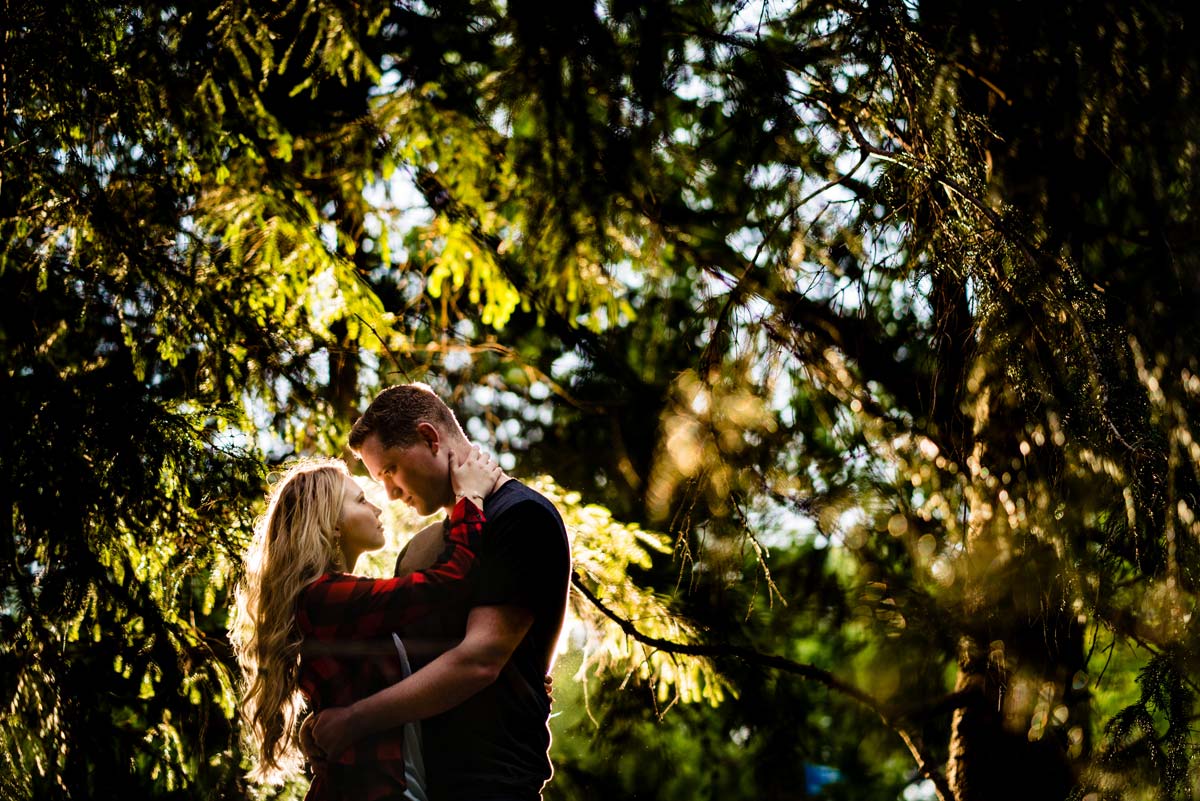
However, with a few small changes to the light and shooting location, the light can appear to be coming from an area of sky. So in general, I always try and have the flare coming from a horizon line or area of the sky where it meets trees or buildings to help trick the viewer into thinking it’s the sun.
Camera Settings and Lights
Aside from placement and light color, the only other things worth discussing are camera settings and the physical lights. For the settings, these are pretty reliant on your ambient light. But I usually try and underexpose my ambient light by about one to two stops. I try and make sure there is enough shadow detail for the subject’s face to be seen.
For the lights, the more power the better. Because the light usually needs to travel a pretty far distance in order to have it interact with the scene, I’m usually always at full power on my Flashpoint eVOLV 200 Pro. But using something like the XPLOR 400 Pro or 600 Pro would give you a bit more flexibility.
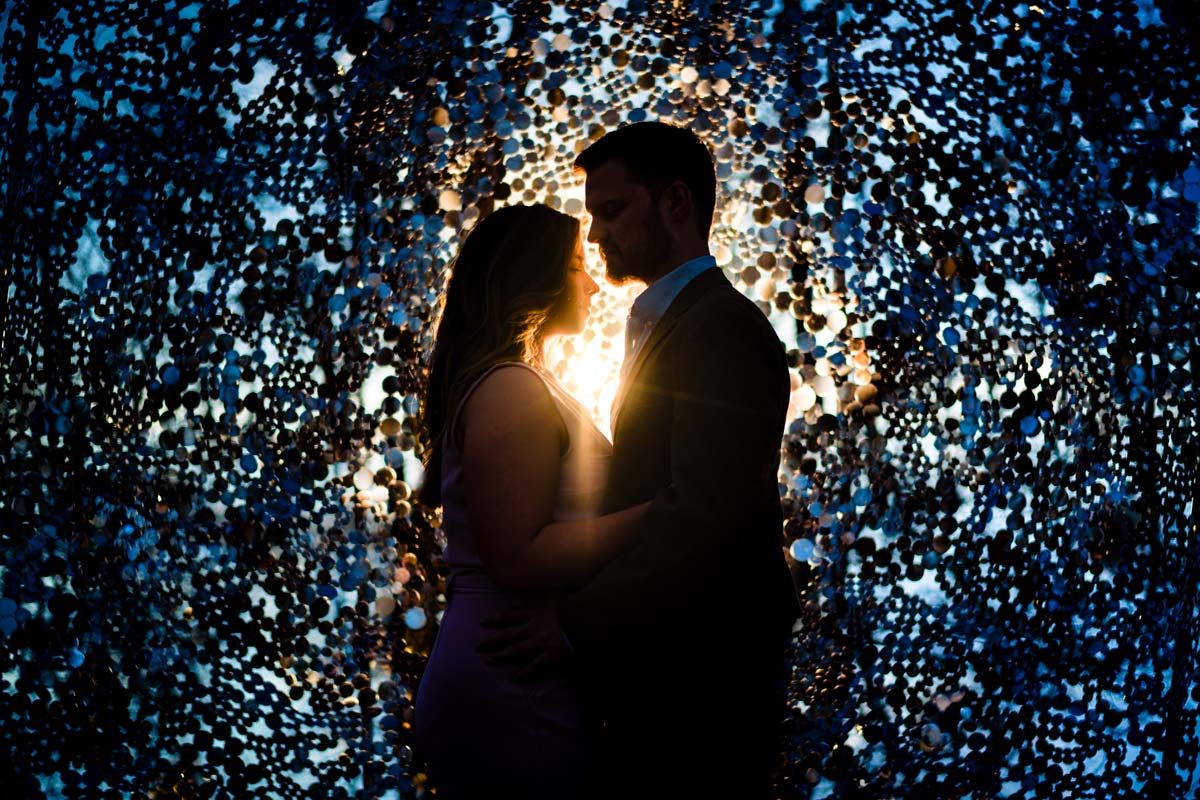
From here, there are plenty of other ways you can experiment with recreating natural light. Try recreating the soft light from a window with a large softbox or firing your light through some window blinds. The possibilities are endless, so give it a try and tag #Flashpointlighting and @VinsonImages_Jason to show us the results.
Written by Jason Vinson
Feature image by Jason Vinson

